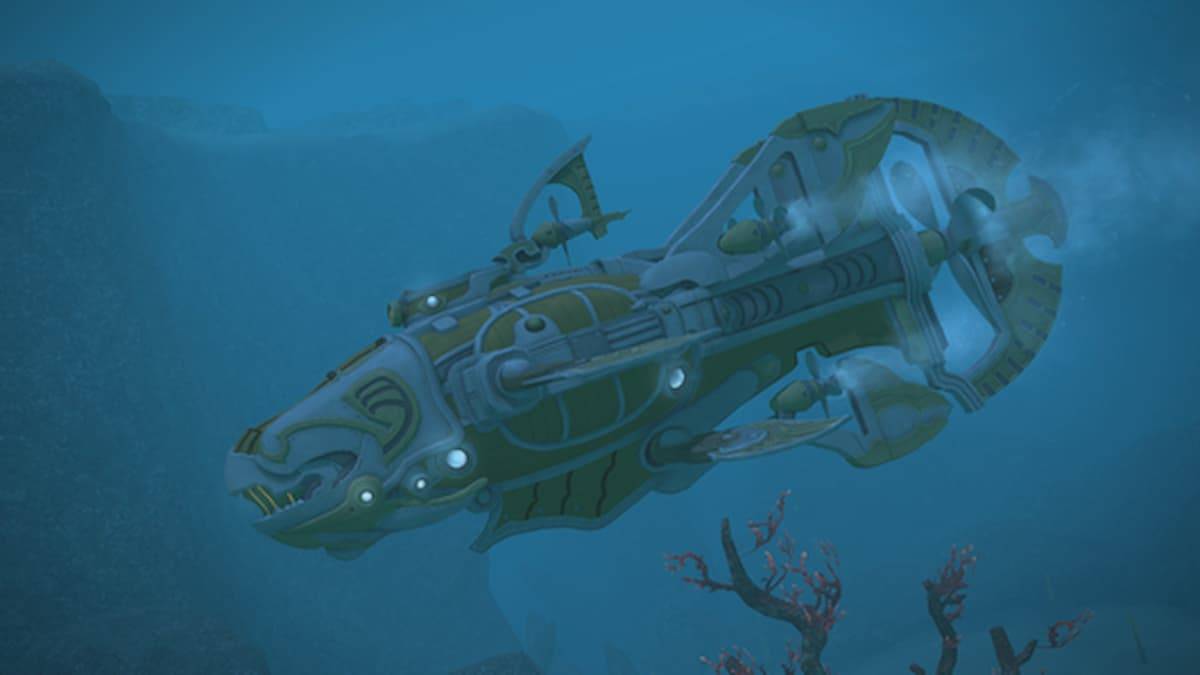
Dive into the depths of Final Fantasy XIV with your Free Company's submarine! This guide details how to unlock and utilize this underwater exploration vessel, introduced in the Stormblood expansion.
Unlocking the Free Company Submarine
First, ensure your Free Company (FC) exists and ideally has reached rank 6. This rank unlocks access to the vendors selling the necessary Ceruleum Tanks. Reaching rank 6 is relatively straightforward; encourage FC members to participate in activities like dungeon clearing, leveling, crafting, and gathering.
Once at rank 6, visit your FC's workshop. Interact with the schematic board to obtain the submersible blueprint. Gather the required materials, and the submersible will be added to your FC's crafting log, ready for construction.
Next, acquire Dive Credits. These are purchased from Resident Caretaker NPCs in any housing district:
- Empyreum: X:10, Y:12
- Lavender Beds: X:12, Y:8
- The Mist: X:11, Y:11
- Shirogane: X:10, Y:14
- The Goblet: X:11, Y:10
Each Dive Credit costs 10,000 Company Credits. Remember, you need FC rank 6 to buy them.
Finally, register your crafted submersible at the voyage control panel within the FC workshop.
Submarine Voyages and Ranks
The following table outlines the required submarine rank for each voyage sector:
| Sector | Map | Required Rank |
|---|---|---|
| The Ivory Shoals | Deep-sea Site | 1 |
| Deep-sea Site 1 | Deep-sea Site | 1 |
| Deep-sea Site 2 | Deep-sea Site | 4 |
| The Lightless Basin | Deep-sea Site | 4 |
| Deep-sea Site 3 | Deep-sea Site | 7 |
| The Southern Rimilala Trench | Deep-sea Site | 7 |
| The Umbrella Narrow | Deep-sea Site | 10 |
| Offender’s Rot | Deep-sea Site | 14 |
| Neolith Island | Deep-sea Site | 17 |
| Unidentified Object | Deep-sea Site | 20 |
| The Cobalt Shoals | Deep-sea Site | 20 |
| The Mystic Basin | Deep-sea Site | 24 |
| Deep-sea Site 4 | Deep-sea Site | 27 |
| The Central Rimilala Trench | Deep-sea Site | 27 |
| The Wreckage of Discovery I | Deep-sea Site | 30 |
| Komura | Deep-sea Site | 30 |
| Kanayama | Deep-sea Site | 34 |
| Concealed Bay | Deep-sea Site | 37 |
| Deep-sea Site 5 | Deep-sea Site | 40 |
| Purgatory | Deep-sea Site | 40 |
| Deep-sea Site 6 | Deep-sea Site | 44 |
| The Rimilala Shelf | Deep-sea Site | 44 |
| Deep-sea Site 7 | Deep-sea Site | 47 |
| Glittersand Basin | Deep-sea Site | 47 |
| Flickering Dip | Deep-sea Site | 50 |
| The Wreckage of the Headway | Deep-sea Site | 50 |
| The Upwell | Deep-sea Site | 50 |
| The Rimilala Trench Bottom | Deep-sea Site | 50 |
| Stone Temple | Deep-sea Site | 50 |
| Sunken Vault | Deep-sea Site | 50 |
| South Isle of Zozonan | Sea of Ash | 50 |
| Wreckage of the Windwalker | Sea of Ash | 50 |
| North Isle of Zozonan | Sea of Ash | 54 |
| Sea of Ash 1 | Sea of Ash | 54 |
| The Southern Charnel Trench | Sea of Ash | 57 |
| Sea of Ash 2 | Sea of Ash | 57 |
| Sea of Ash 3 | Sea of Ash | 60 |
| Ascetic’s Demise | Sea of Ash | 60 |
| The Central Charnel Trench | Sea of Ash | 60 |
| The Catacombs of the Father | Sea of Ash | 60 |
| Sea of Ash 4 | Sea of Ash | 60 |
| The Midden Pit | Sea of Ash | 63 |
| The Lone Glove | Sea of Ash | 63 |
| Coldtoe Isle | Sea of Ash | 65 |
| Smuggler’s Knot | Sea of Ash | 65 |
| The Open Robe | Sea of Ash | 65 |
| Nald’thal’s Pipe | Sea of Ash | 66 |
| The Slipped Anchor | Sea of Ash | 67 |
| Glutton’s Belly | Sea of Ash | 69 |
| The Blue Hole | Sea of Ash | 70 |
| The Isle of Sacrament | Sea of Jade | 70 |
| The Kraken’s Tomb | Sea of Jade | 70 |
| Sea of Jade 1 | Sea of Jade | 70 |
| Rogo-Tumu-Here’s Haunt | Sea of Jade | 72 |
| The Stone Barbs | Sea of Jade | 72 |
| Rogo-Tumu-Here s Repose | Sea of Jade | 73 |
| Tangaroa’s Prow | Sea of Jade | 74 |
| Sea of Jade 2 | Sea of Jade | 75 |
| The Blind Sound | Sea of Jade | 75 |
| Sea of Jade 3 | Sea of Jade | 75 |
| Moergynn’s Forge | Sea of Jade | 76 |
| Tangaroa’s Beacon | Sea of Jade | 78 |
| Sea of Jade 4 | Sea of Jade | 80 |
| The Forest of Kelp | Sea of Jade | 81 |
| Sea of Jade 5 | Sea of Jade | 83 |
| Bladefall Chasm | Sea of Jade | 85 |
| Stormport | Sea of Jade | 87 |
| Wyrm’s Rest | Sea of Jade | 88 |
| Sea of Jade 6 | Sea of Jade | 89 |
| The Devil’s Crypt | Sea of Jade | 90 |
| Mastbound’s Beauty | Sirensong Sea | 90 |
| Sirensong Sea 1 | Sirensong Sea | 90 |
| Sirensong Sea 2 | Sirensong Sea | 90 |
| Anthemoessa | Sirensong Sea | 91 |
| Magos Trench | Sirensong Sea | 92 |
| Thrall’s Unrest | Sirensong Sea | 93 |
| Crow’s Drop | Sirensong Sea | 95 |
| Sirensong Sea 3 | Sirensong Sea | 95 |
| The Anthemoessa Undertow | Sirensong Sea | 96 |
| Sirensong Sea 4 | Sirensong Sea | 97 |
| Seafoam Tide | Sirensong Sea | 98 |
| The Beak | Sirensong Sea | 99 |
| Seafarer’s End | Sirensong Sea | 100 |
| Drifter’s Decay | Sirensong Sea | 101 |
| Lugat’s Landing | Sirensong Sea | 101 |
| The Frozen Spring | Sirensong Sea | 102 |
| Sirensong Sea 5 | Sirensong Sea | 103 |
| Tidewind Isle | Sirensong Sea | 104 |
| The Crystal Font | Sirensong Sea | 104 |
| Weeping Trellis | The Lilac Sea | 105 |
| The Forsaken Isle | The Lilac Sea | 105 |
| Fortune’s Ford | The Lilac Sea | 105 |
| The Lilac Sea 1 | The Lilac Sea | 106 |
| Runner’s Reach | The Lilac Sea | 107 |
| Bellflower Flood | The Lilac Sea | 108 |
| The Lilac Sea 2 | The Lilac Sea | 110 |
| The Lilac Sea 3 | The Lilac Sea | 111 |
| Northwest Bellflower | The Lilac Sea | 112 |
| Corolla Isle | The Lilac Sea | 113 |
| Southeast Bellflower | The Lilac Sea | 114 |
| The Floral Reef | The Lilac Sea | 115 |
| Wingsreach | The Lilac Sea | 115 |
| The Floating Standard | The Lilac Sea | 116 |
| The Fluttering Bay | The Lilac Sea | 117 |
| The Lilac Sea 4 | The Lilac Sea | 118 |
| Proudkeel | The Lilac Sea | 119 |
| East Dodie’s Abyss | The Lilac Sea | 119 |
| The Lilac Sea 5 | The Lilac Sea | 120 |
| West Dodie’s Abyss | The Lilac Sea | 120 |
| The Indigo Shallows | South Indigo Deep | 120 |
| Voyagers’ Reprieve | South Indigo Deep | 120 |
| North Delphinium Seashelf | South Indigo Deep | 120 |
| Rainbringer Rift | South Indigo Deep | 121 |
| South Indigo Deep 1 | South Indigo Deep | 122 |
| The Central Blue | South Indigo Deep | 123 |
| South Indigo Deep 2 | South Indigo Deep | 125 |
This completes your guide to obtaining and utilizing the FC submarine in FFXIV. Check out The Escapist for more FFXIV tips, including troubleshooting lag and Dawntrail patch updates.