In *Monster Hunter Wilds*, finding the perfect balance is a challenge, as every piece of gear from armor to Talismans comes with tradeoffs. However, when it comes to combat, the Sword and Shield stands out for its versatility. It offers both offensive and defensive capabilities, making it an excellent choice for both newcomers and seasoned hunters. Here's how to maximize your effectiveness with the Sword and Shield in *Monster Hunter Wilds*.
Sword and Shield in Monster Hunter Wilds
The Sword and Shield is your go-to weapon for flexibility and reliability. Its ability to swiftly transition from attack to defense makes it ideal for any situation, whether you're a beginner or a pro. With high mobility and solid damage output, coupled with the option to guard, this weapon truly shines on the battlefield.
All Moves
| Command | Move | Description |
|---|---|---|
| Triangle/Y | Standard Attack | A basic sword attack that can be chained into a 4-hit combo. Use the analog stick mid-combo to adjust your positioning. |
| Circle/B | Special Attack | Use the analog stick with Circle/B to perform a Shield Attack that deals stun damage. Press Circle/B for a powerful Lateral Slash. |
| Triangle/Y + Circle/B | Advancing Slash | An upward slash performed while advancing forward. Using Advancing Slash while sliding downhill or towards a ledge allows a terrain-specific attack. |
| Triangle/Y + Circle/B (During Combo) | Roundslash | An attack that slashes a wide area, during which you can quickly change your direction. Chaining it from certain attacks results in the powerful Spinning Reaper. |
| Holding down Triangle/Y + Circle/B (During Combo) | Charged Chop | A powerful leaping attack. Hitting the soft spot in a monster’s hide allows multiple instances of damage. The attack's power increases if used after certain attacks. |
| Forward on analog stick + Circle/B | Shield Attack | Use the shield to bash into enemies and deal stun damage when targeting the enemy’s head. |
| Push back analog stick + Circle/B (During Combo) | Backstep | Backstep can be used during combos to avoid monster attacks. Press Triangle/Y during a Backstep to perform Perfect Rush, a multi-hit attack that can easily afflict elemental damage and ailments. Press Triangle/Y when the sword flashes to increase damage. |
| Circle/B During Backstep | Charged Slash | Landing a Charged Slash after a Backstep allows players to jump high in the air. While airborne, you can follow up with different aerial attacks such as Jumping Slash (Triangle/Y) or a Falling Bash (Circle/B). |
| Hold down R2/RT | Guard | Guard against attacks using your shield. Guarding at the right time results in a Perfect Guard. Press Triangle/Y after a Perfect Guard to perform a quick and powerful Counter Slash. |
| R2/RT + Triangle/Y | Sliding Swipe | An attack that can be performed easily, allowing you to quickly close the distance between you and the target. |
| R2/RT + Square/X | Use Item | You can use certain items while your weapon is unsheathed. |
| L2/LT + R1/RB | Focus Strike: Vital Stab | A stabbing attack effective against wounds. After hitting the wounds or a weak point, press Triangle/Y to follow up with a Falling Slash, or Circle/B for an Upswing Bash. |
Combos

For players aiming to deal significant damage while staying agile, mastering these key combos is essential:
Lateral Slash Combo
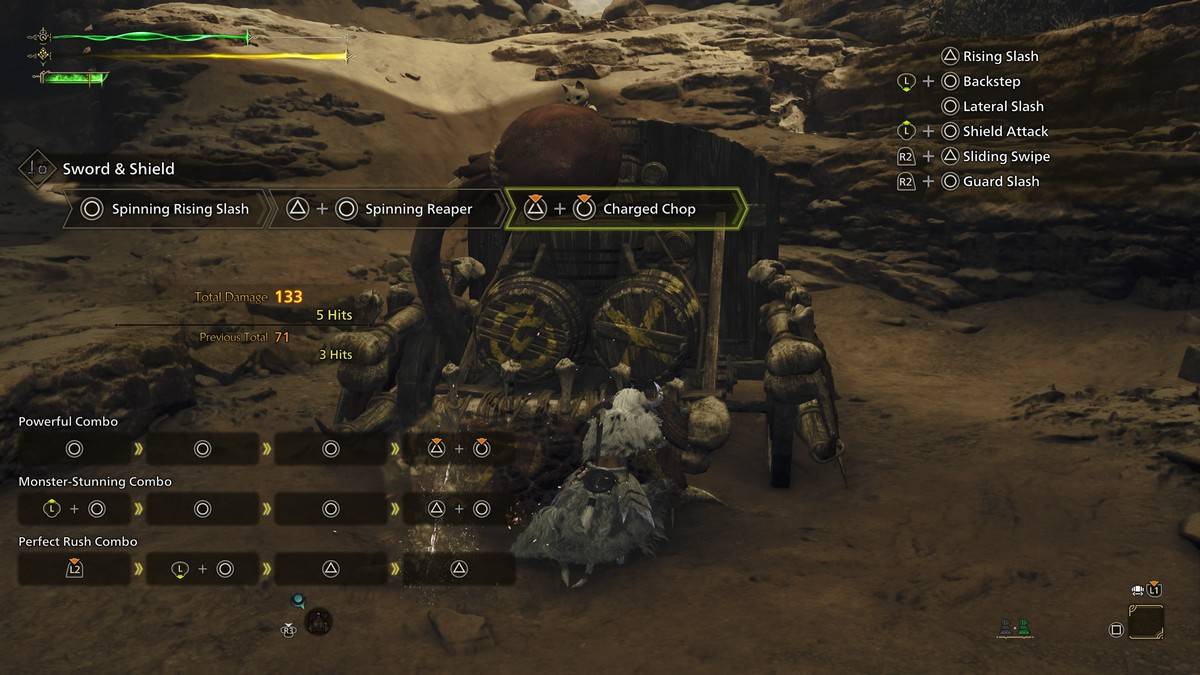
The standard Lateral Slash combo sets the stage for increased damage when incorporating the Spinning Reaper and Charged Chop attacks. Start with Lateral Slash (Circle/B), followed by Return Stroke (Circle/B), Spinning Rising Slash (Circle/B), then into Spinning Reaper (Triangle/Y + Circle/B) and Charged Chop (Hold Triangle/Y + Circle/B). This combo delivers quick and powerful damage without leaving you vulnerable for long.
Shield Bash Combo
To knock down your target, use the Shield Attack combo. Initiate by pointing your analog stick forward and pressing Circle/B, followed by two more sets of Circle/B, and finish with a Guard Slash (R2/RT + Circle/B). This is most effective when targeting a monster's head, often knocking them down after a few repetitions.
Perfect Rush Combo
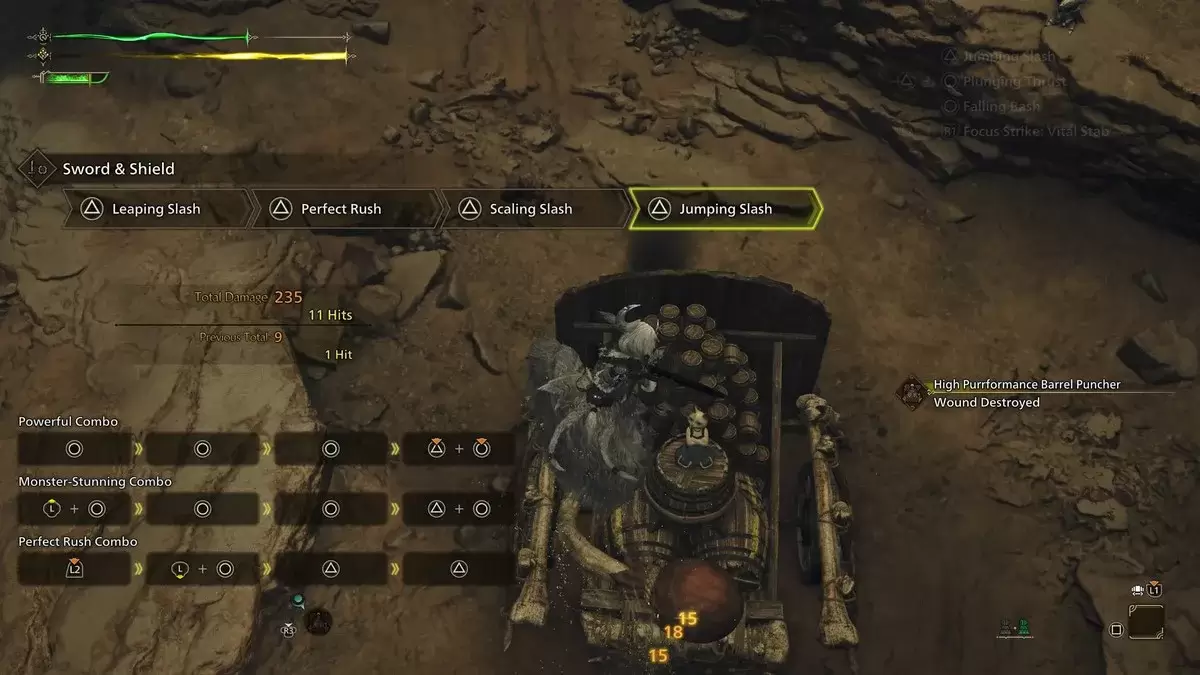
The most potent combo for the Sword and Shield, the Perfect Rush, should be your primary choice. Begin with any attack, then Backstep (Push back analog stick + Circle/B), followed by Leaping Slash (Triangle/Y) into Perfect Rush (Triangle/Y), Scaling Slash (Triangle/Y), and finally Falling Bash (Circle/B). Timing is crucial here; watch for your hunter to flash red before the next command to maximize damage output.
Sword and Shield Tips

Enhance your Sword and Shield gameplay with these strategic tips:
Vary Your Attacks
To efficiently take down monsters, utilize a mix of fast sword attacks to build elemental damage and shield attacks to deliver stun damage when opportunities arise, potentially knocking down your enemy.
Dodging and Guarding
Master the art of defense with Guarding and Backstep. Perfect Guards, timed correctly, can negate incoming damage, while Power Clashes can push back monsters. Use Backstep to evade attacks and set up counterattacks, mastering the timing and spacing to keep the upper hand.
Focus Strikes
Exploit the wounds you create on monsters with the Focus Strike. Unlike other weapons, the Sword and Shield allows for two follow-up attacks: Falling Slash for multiple hits or Upswing Bash, which can lead into a Falling Bash for increased stun damage.
Item Usage
A unique advantage of the Sword and Shield in *Monster Hunter Wilds* is the ability to use items without sheathing your weapon. This feature is invaluable for quick recovery or supporting allies, ensuring you can maintain pressure on your target.
These insights will help you master the Sword and Shield in *Monster Hunter Wilds*. For more tips and guides on the game, be sure to visit The Escapist.
*Monster Hunter Wilds is available now on PlayStation, Xbox, and PC.*


