Unleash Retro Gaming on Your Steam Deck: A Comprehensive Guide to EmuDeck and Game Boy Emulation
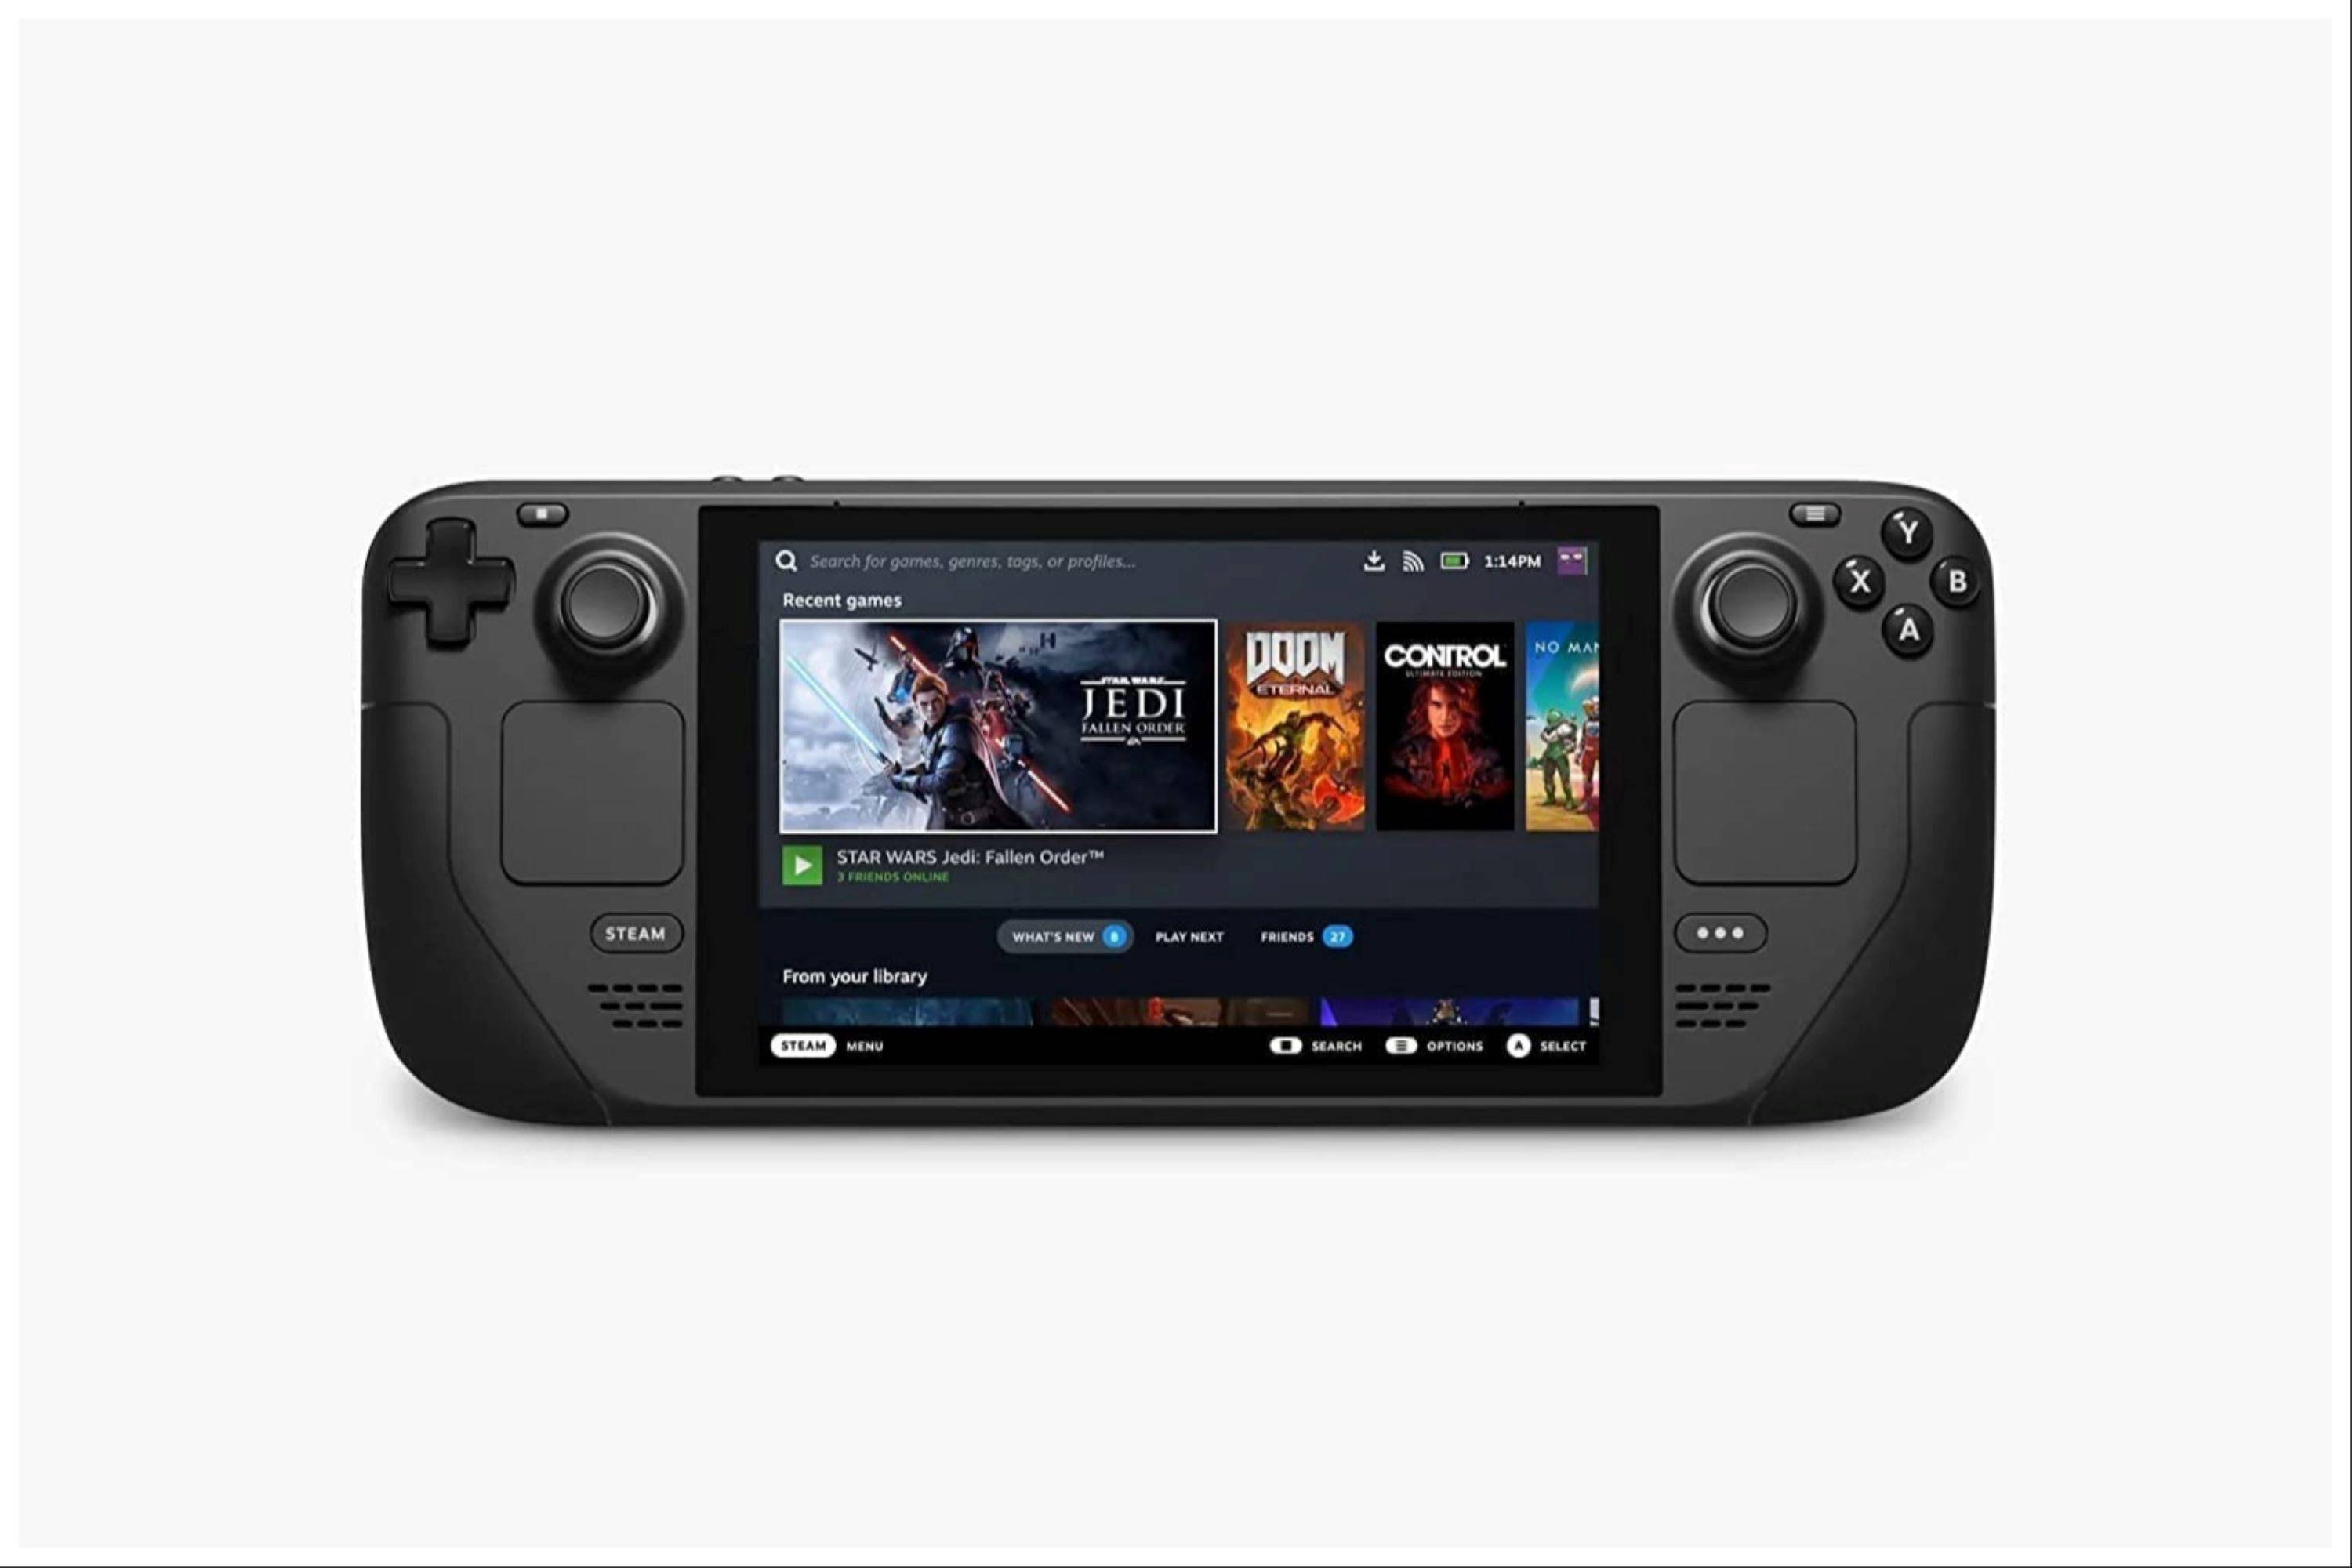
The Steam Deck's versatility extends beyond modern titles; its PC-like architecture makes it a prime candidate for retro gaming. This guide details how to transform your Steam Deck into a Game Boy powerhouse using EmuDeck.
Despite their age, classic Game Boy games retain a timeless charm. This guide covers EmuDeck installation, Game Boy game integration, performance optimization with Decky Loader and Power Tools, and troubleshooting post-Steam Deck updates.
Updated January 13, 2024: This guide has been updated to reflect the recommended installation of Decky Loader and the Power Tools plugin for optimal Game Boy emulation performance and to include steps for restoring Decky Loader after a Steam Deck update.
Pre-EmuDeck Setup:
 Before beginning, gather the following:
- A fully charged Steam Deck.
- An A2 microSD card for game and emulator storage.
- Legally obtained Game Boy ROMs.
- A Bluetooth or wired keyboard and mouse (recommended for easier navigation).
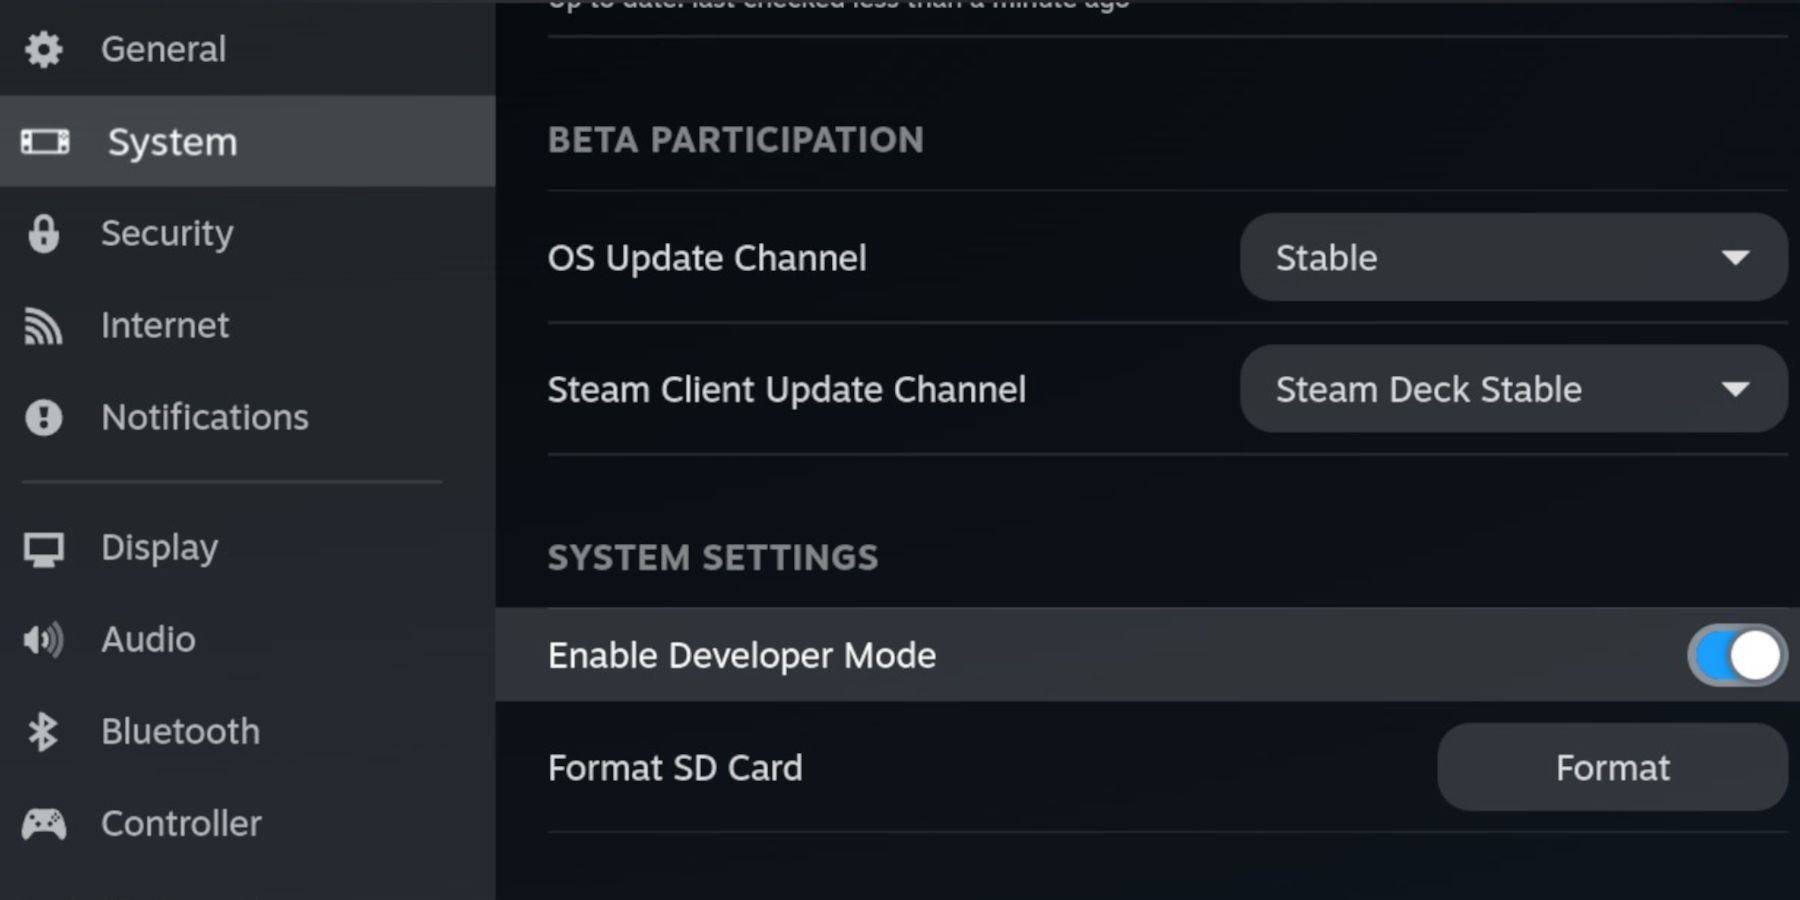
Enabling Developer Mode:
- Press the Steam button.
- Navigate to the System menu and enable Developer Mode.
- Access the Developer menu and enable CEF Debugging.
- Select Power > Switch to Desktop Mode.
EmuDeck Installation (Desktop Mode):
- Connect your keyboard and mouse.
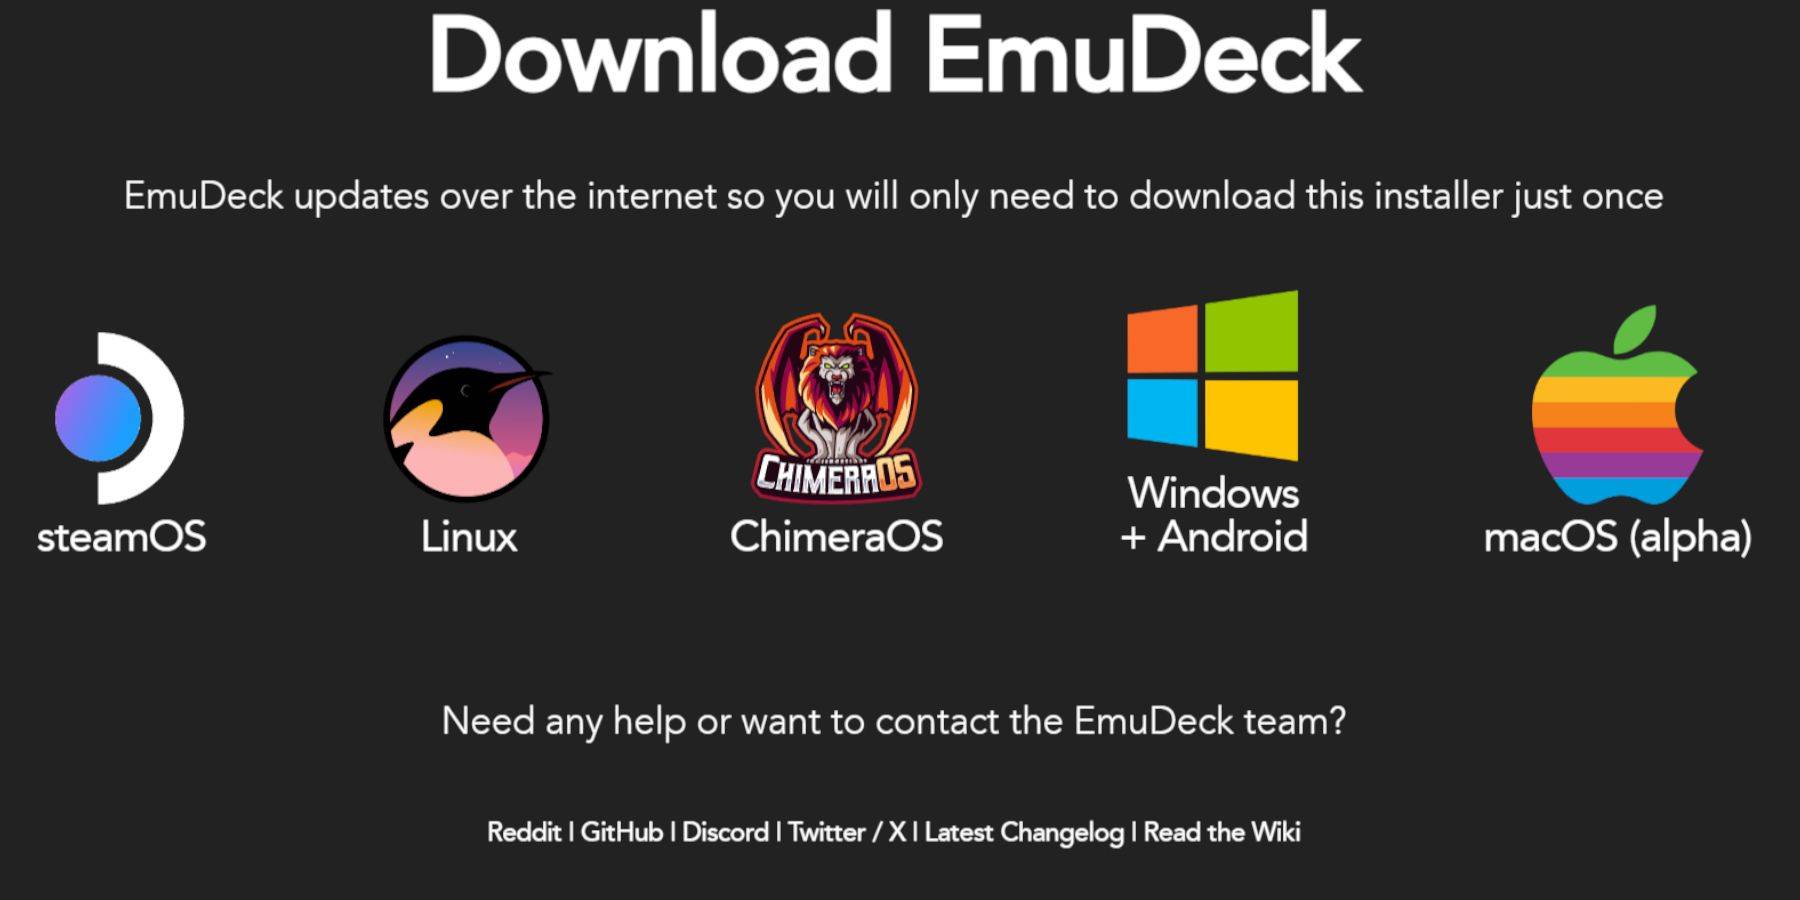
- Launch a browser (e.g., DuckDuckGo, Firefox) and download EmuDeck.
- Choose Steam OS and download.
- Select Recommended Settings then Custom Install.
- Select your SD card as the Primary installation location.
- Choose your desired emulators (RetroArch, Emulation Station, Steam ROM Manager recommended).
- Enable Auto Save.
- Complete the installation.
Quick Settings Optimization:
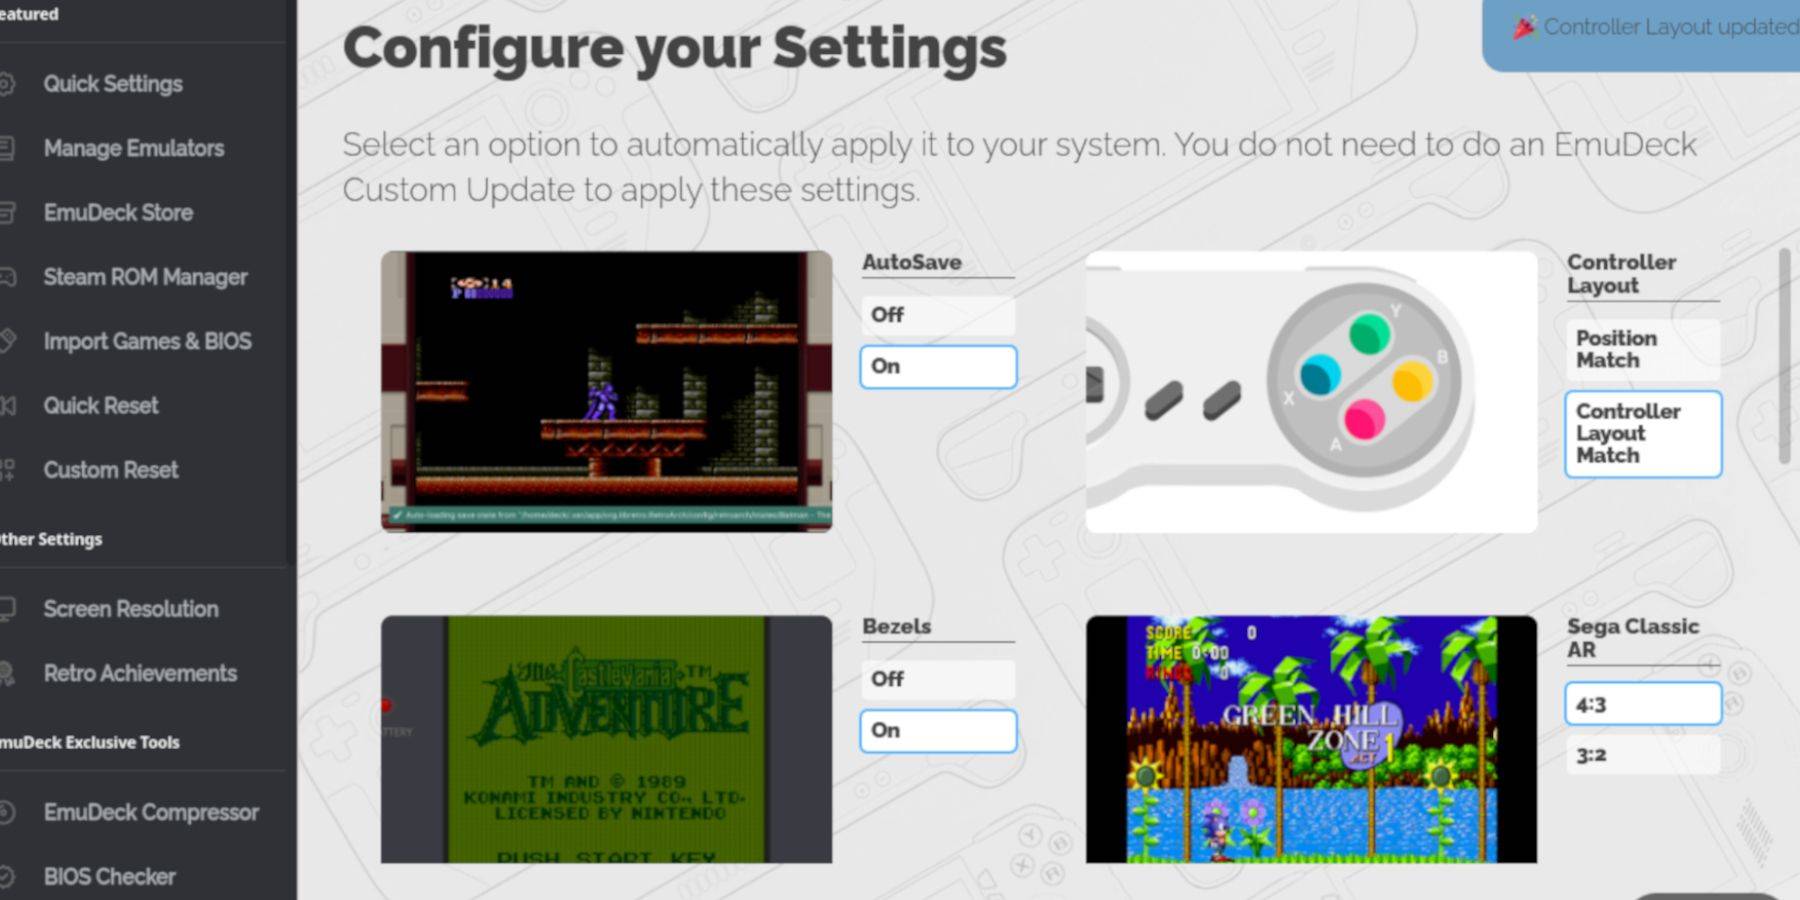
- Open EmuDeck and access Quick Settings.
- Enable AutoSave, Controller Layout Match, Bezels, Nintendo Classic AR, and LCD Handhelds.
Adding Game Boy Games:
- Use Dolphin File Manager to access your SD card (Primary > Emulation > ROMs > gb).
- Ensure ROMs are correctly named (
.gbextension). - Transfer your Game Boy ROMs to the
gbfolder.
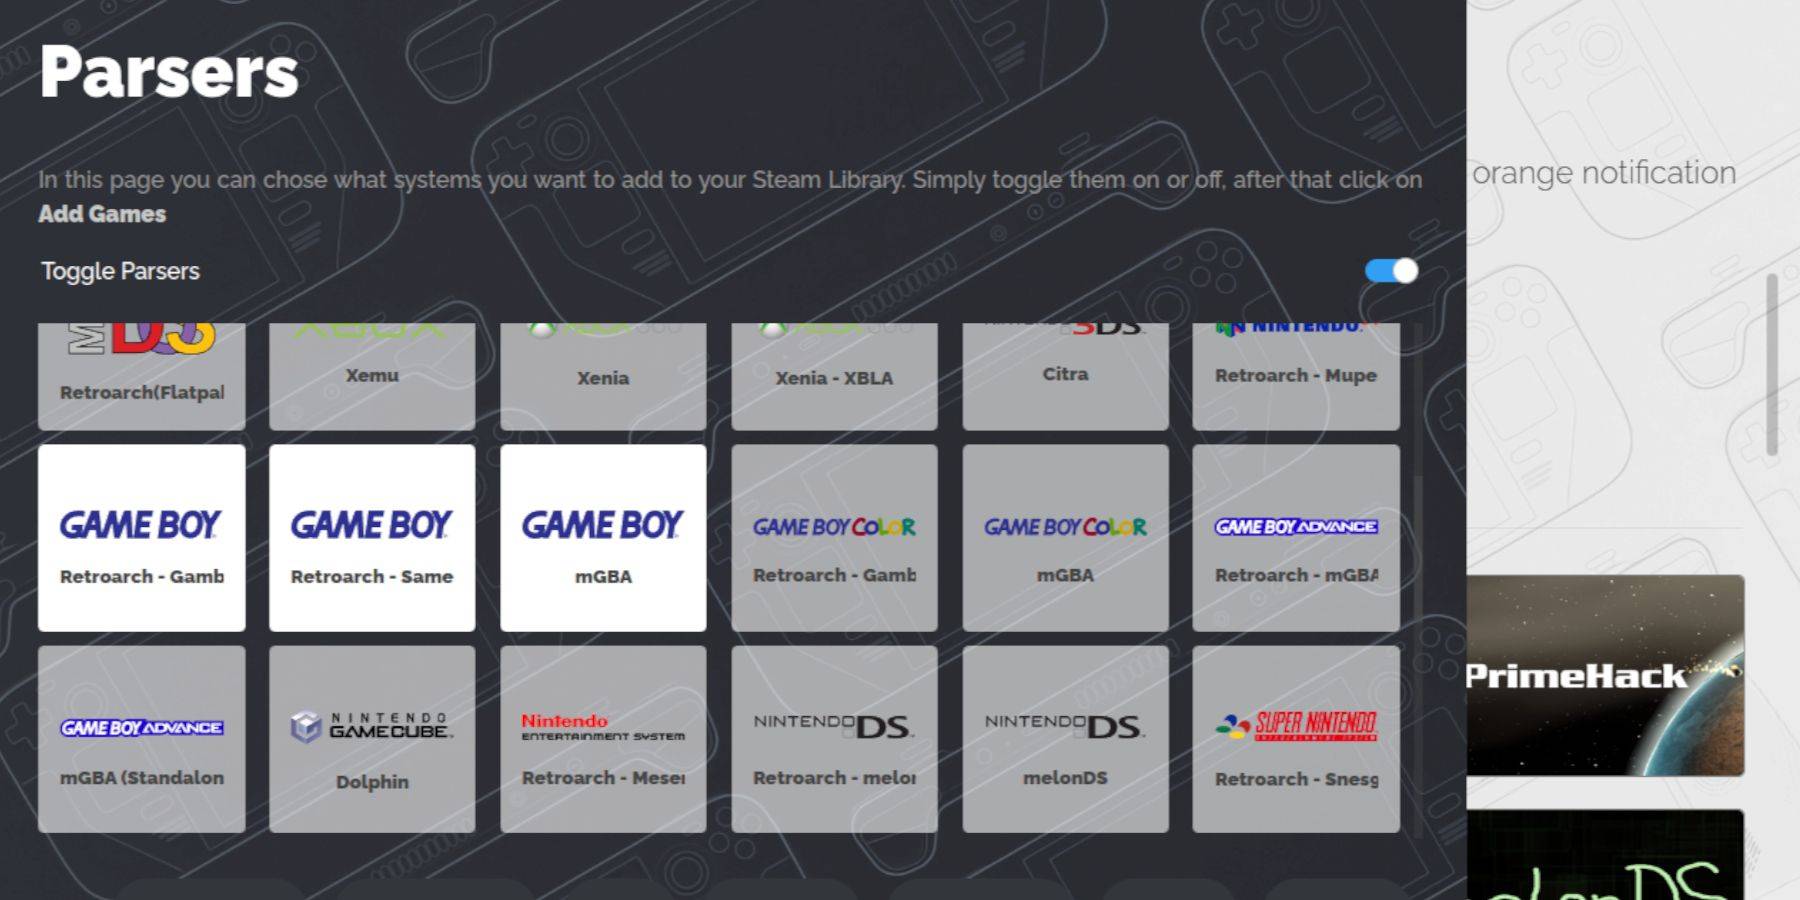
Steam ROM Manager Integration:
- Open EmuDeck and select Steam ROM Manager.
- Close the Steam client if prompted.
- Disable Toggle Parsers.
- Select the three Game Boy tabs and Add Games.
- After adding games, select Save to Steam.
- Wait for the completion message and close Steam ROM Manager.
- Return to Gaming Mode.
Playing Game Boy Games:
- Press the Steam button, open the Library, and go to the Collections tab.
- Select your Game Boy collection and launch a game.
Customizing Game Colors (RetroArch):
While not all games support it, some offer color options within RetroArch:
- Launch a game.
- Access the RetroArch menu (Select + Y buttons).
- Navigate to Core Options > GB Colorization.
- Choose Auto for automatic colorization or Off for original monochrome.
Emulation Station Alternative:
- Press the Steam button, open the Library, and go to the Collections tab.
- Select Emulators > Emulation Station.
- Select the Game Boy icon and launch your games.
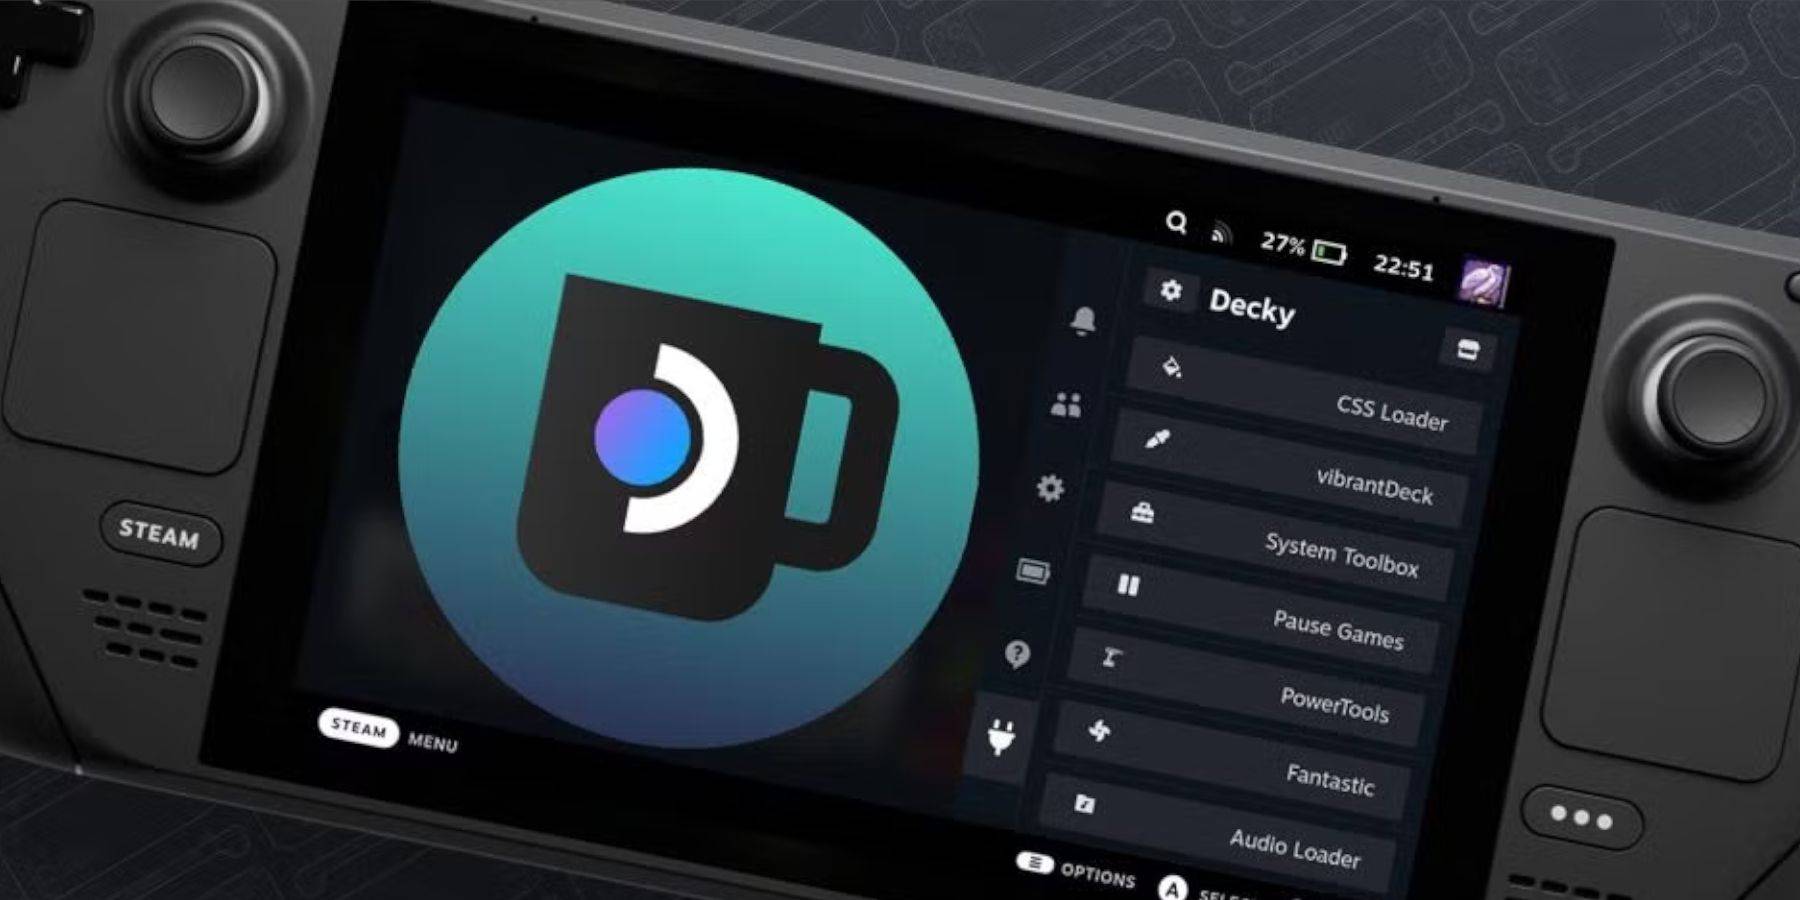
Decky Loader Installation:
 For enhanced performance:
- Switch to Desktop Mode.
- Download Decky Loader from its GitHub page.
- Run the installer and choose Recommended Install.
- Restart your Steam Deck in Gaming Mode.
Power Tools Plugin Installation and Configuration:
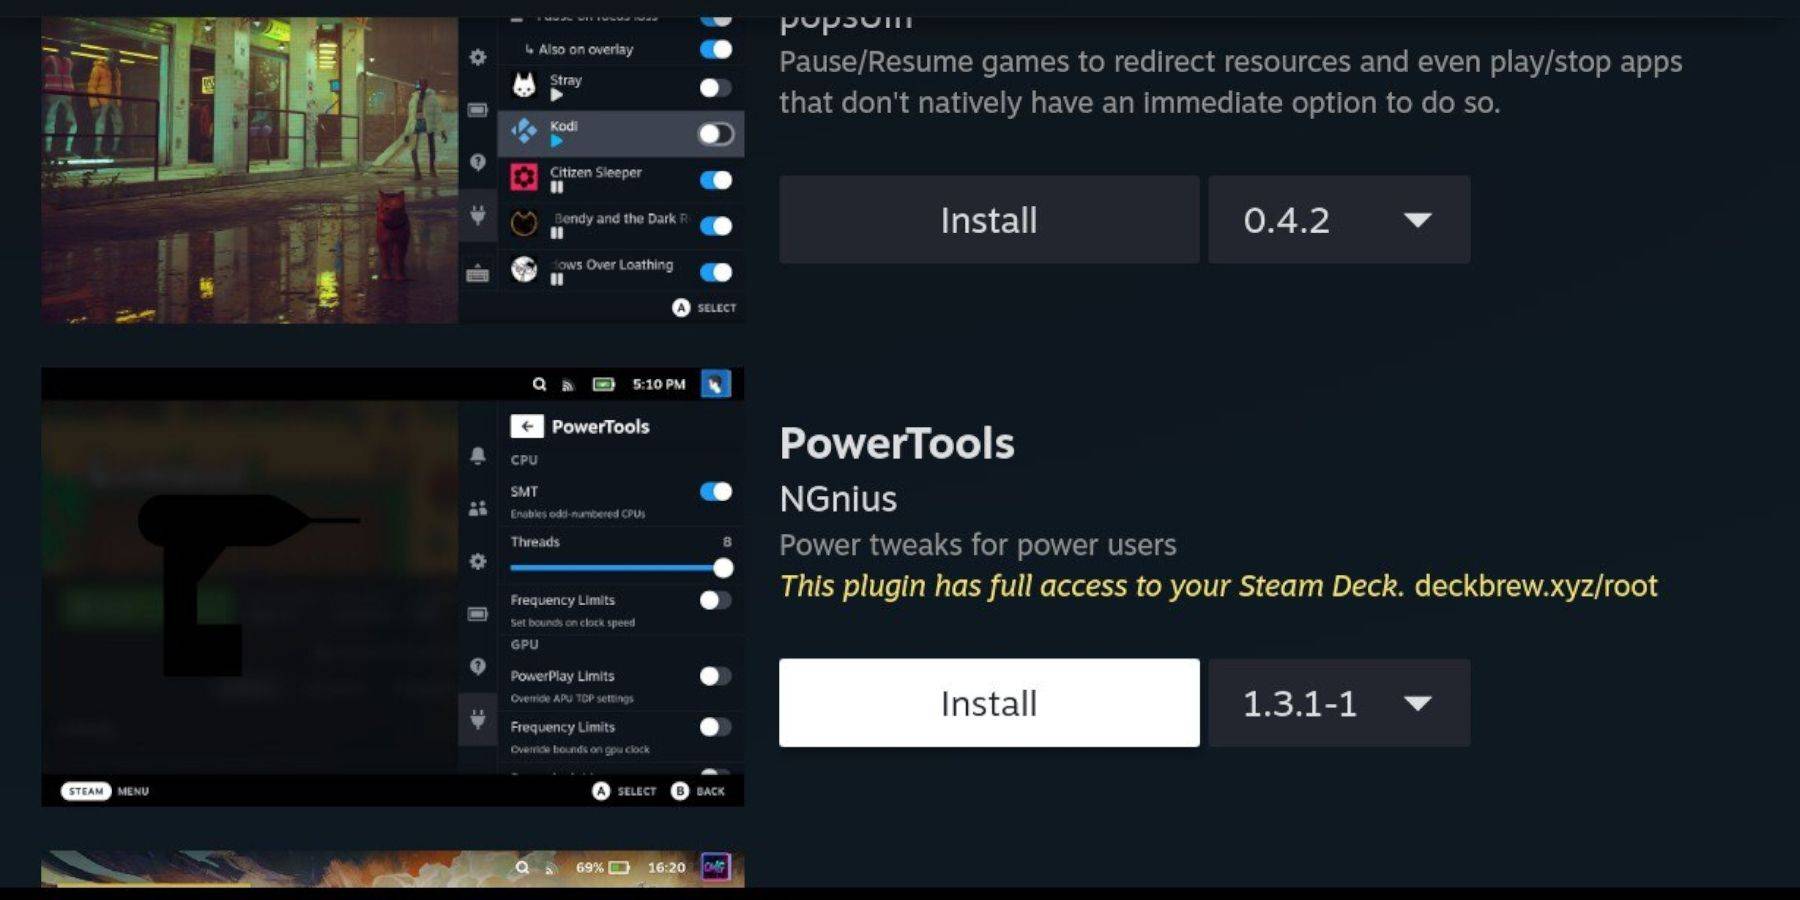
- Access the Decky Loader store via the QAM.
- Install the Power Tools plugin.
- Launch a Game Boy game.
- Access Power Tools via QAM.
- Turn off SMTs, set Threads to 4.
- Access the Performance menu, enable Advanced View, Manual GPU Clock Control (set to 1200), and Per Game Profile.
Restoring Decky Loader After a Steam Deck Update:
- Switch to Desktop Mode.
- Re-download Decky Loader from its GitHub page.
- Run the installer (Execute only).
- Enter your pseudo password (create one if needed).
- Restart your Steam Deck in Gaming Mode.
Enjoy your enhanced Game Boy experience on your Steam Deck! The larger screen significantly improves the classic gaming experience.