If you enjoyed Dead Rails on sails, you're in for a treat with the latest update to Dead Sails, despite its challenges. Mastering the Seven Seas and taking down the mighty Kraken might seem daunting, but fear not—this comprehensive Dead Sails Kraken guide will walk you through the new content, accelerate your progress, and crank up your enjoyment to the max.
Recommended Videos
Table of Contents
Dead Sails Kraken Boss Guide Dead Sails Kraken Tips And Tricks How to Defeat the Kraken Boss in Dead Sails
Dead Sails Kraken Boss Guide
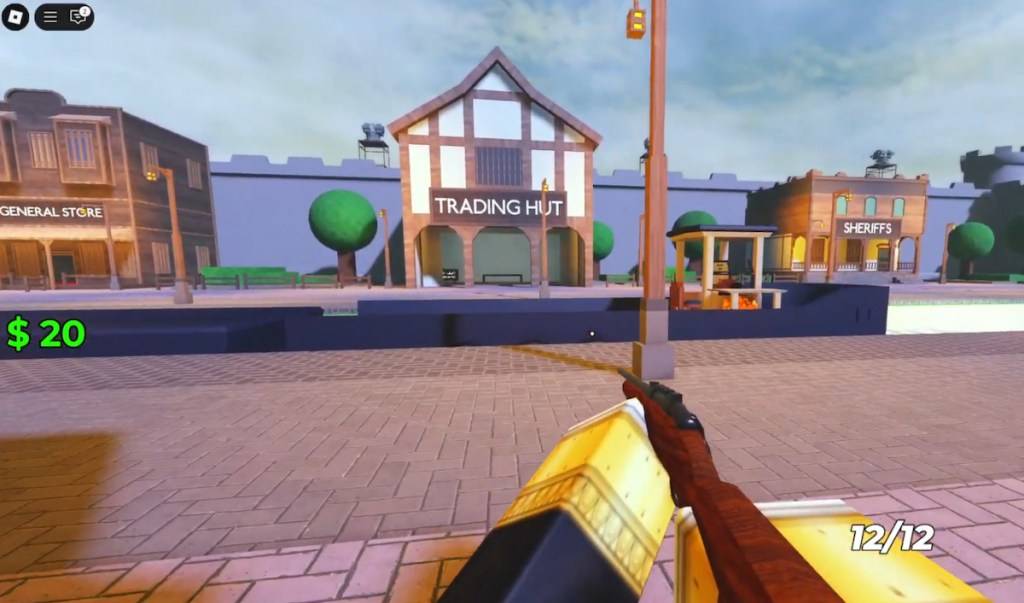
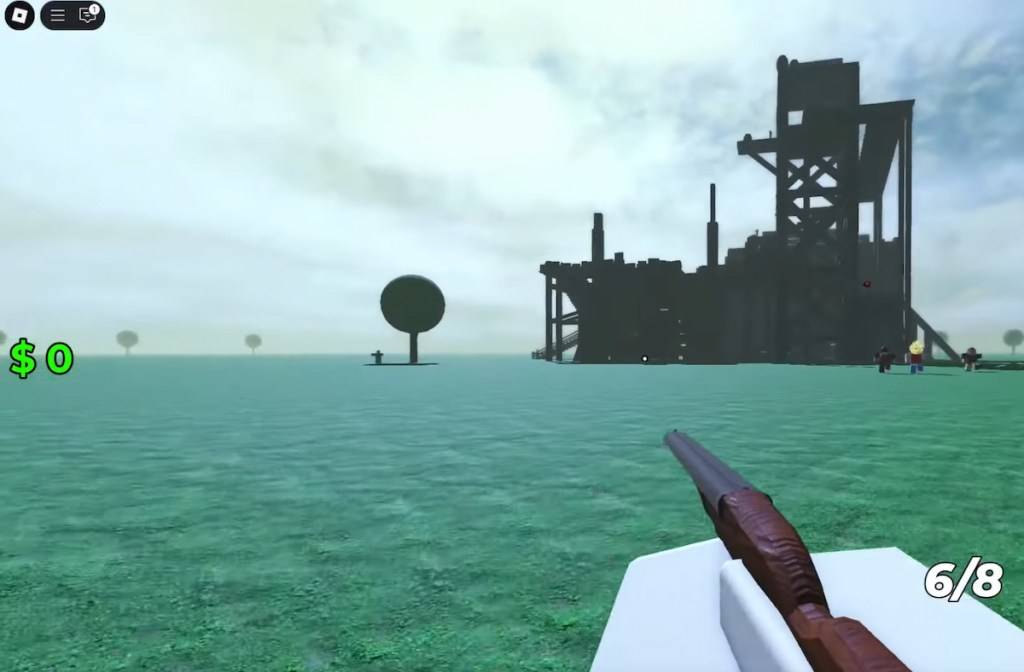
Your adventure begins right in the heart of town, across from the Gun Store and Hospital and in front of the Trading Hut. Start by shedding any excess loot and arming yourself. In my opinion, a Rifle is a smart choice here. Priced at just $75, it packs enough punch to fend off most foes, at least temporarily. Don't forget to purchase coal to fuel your boat, as it runs on an old-school engine.
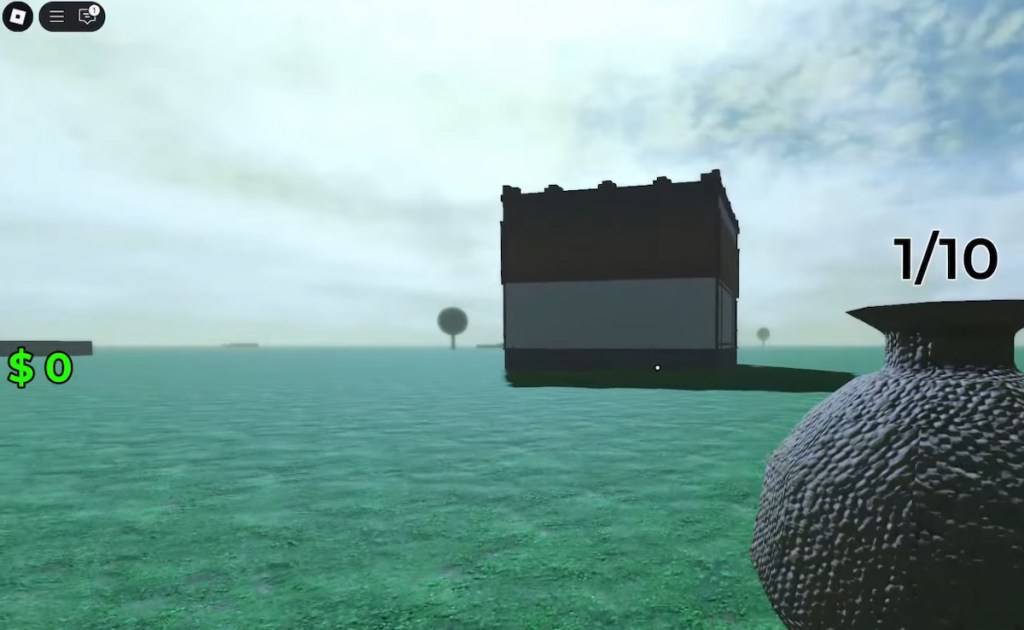
Your next destination is 10,000m away. Simply start the engine and you're off. While you can stop to eliminate and loot Zombies and Drowned, it's not highly recommended due to the limited value in the surrounding houses. To restart the ship, just add more coal. Don't let the worm on the right side scare you. Wait until the second safe zone to sell your items, but stay alert for Big Foot and Zombie mobs along the riverbanks.

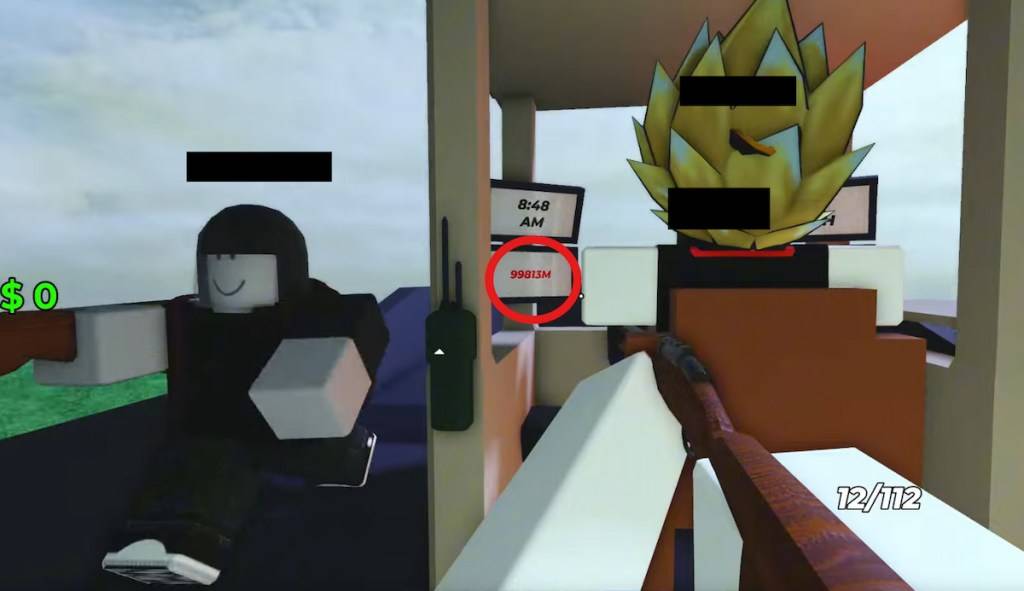
After reaching the second safe zone/town, you'll find burning buildings teeming with mobs. Clear them out if you're with friends, but solo players might find it a waste of time due to unpredictable spawn points. Around 12,000m, you'll discover a castle-like house filled with Drowned and valuable loot like Shotgun ammo. Use these resources wisely.
Dead Sails Kraken Tips And Tricks
By now, you're familiar with the routine—kill, loot, repeat, and hope for enemy defeat. This is the essence of the gameplay loop. To excel, focus on efficiency by using the boat as your primary inventory. Unload your bag whenever you return to the boat to save time and space.

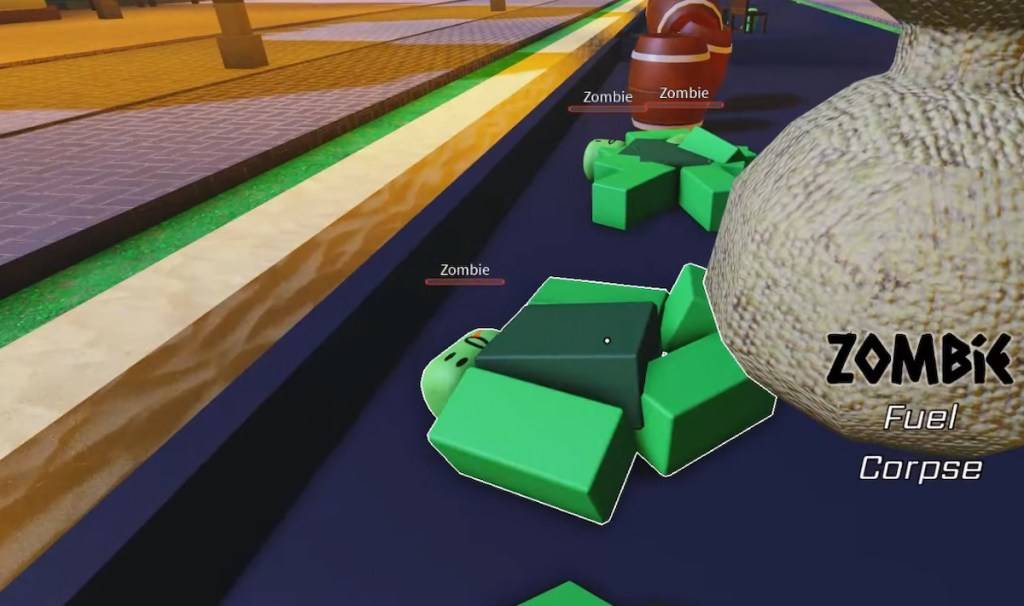
A crucial tip from this Dead Sails Kraken guide is stacking Zombies near the incinerator. While the urge to escape those backwater towns is strong, efficient loot stacking can significantly boost your progress. If you're running low on fuel, toss a few Zombies into the incinerator to keep going.
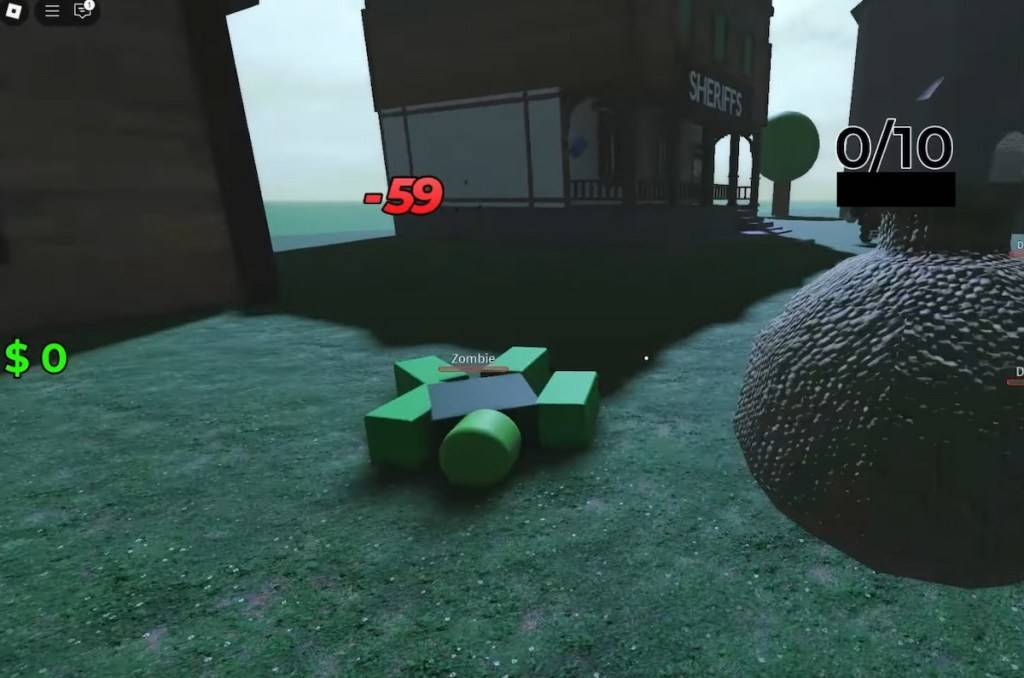
Another useful tip is to keep an eye on Sheriff's offices. They often host a higher concentration of mobs but also offer rewarding weapons and ammo. I managed to keep my shotgun stocked for an extended period by having a friend clear the ground floor as we explored each town.
Make sure to conserve your ammo, weapons, fuel, and medkits for the fortress at around 25,000m. This area is still under construction, making it vulnerable to mob ambushes. I recommend tackling this with at least three others, with a five-person team being ideal. Be efficient when collecting loot here.
Likewise, avoid engaging Big Feet past 30,000m. They're incredibly strong, consume a lot of ammo, and hit like a truck. Plan your stops carefully; not all loot is worth the risk.
The town past 50,000m is one of my favorite farming spots. With at least two dozen Drowned and Zombies, it's an ideal location for shotgun users and their friends. It's also efficient for gathering corpses for fuel, so coordinate with your team to prepare the bodies for loading quickly.
How to Defeat the Kraken Boss in Dead Sails
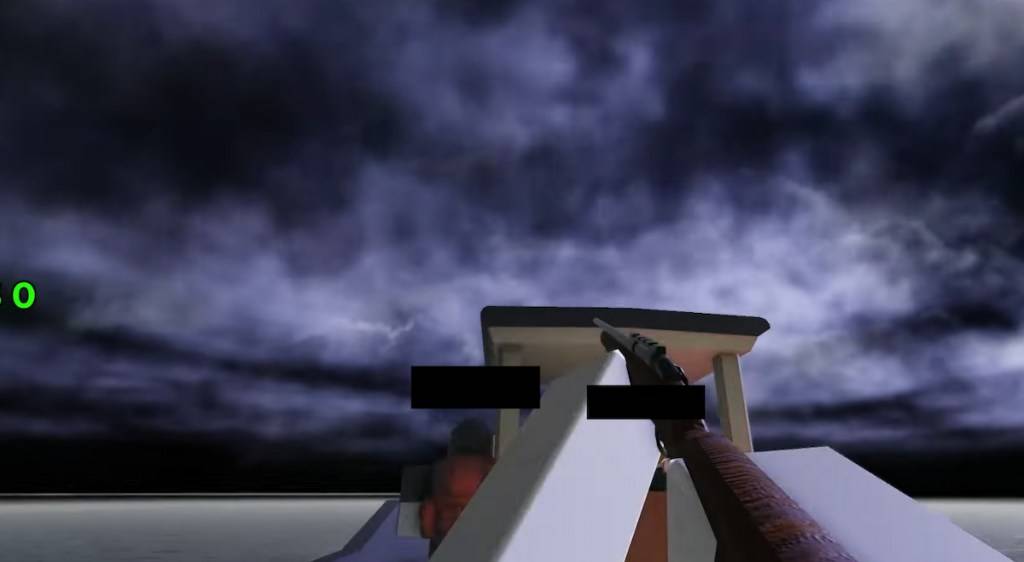
In the final safe zone, sell everything you've got and stock up on ammo, weapons, and medkits. Don't underestimate the Zombies and Drowned. Keep a minimum of 8-10 corpses for fuel during this crucial part of the Dead Sails Kraken guide. You're almost at the end. At around 100k, you'll enter open waters, primed to confront the beast. You'll know it's coming when the skies darken.
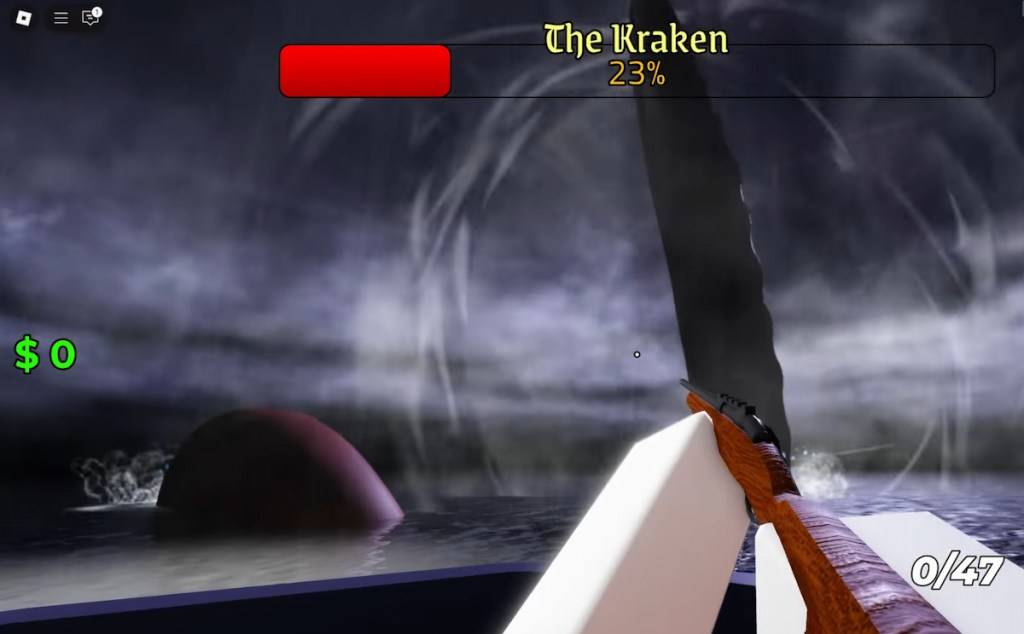
As the camera zooms out and the Kraken emerges, EVERYONE MUST TARGET a tentacle. The boss has substantial health, and each tentacle can attack if not dealt with properly. If you have five people on board, form a pentagram-like shape and tackle each tentacle individually.
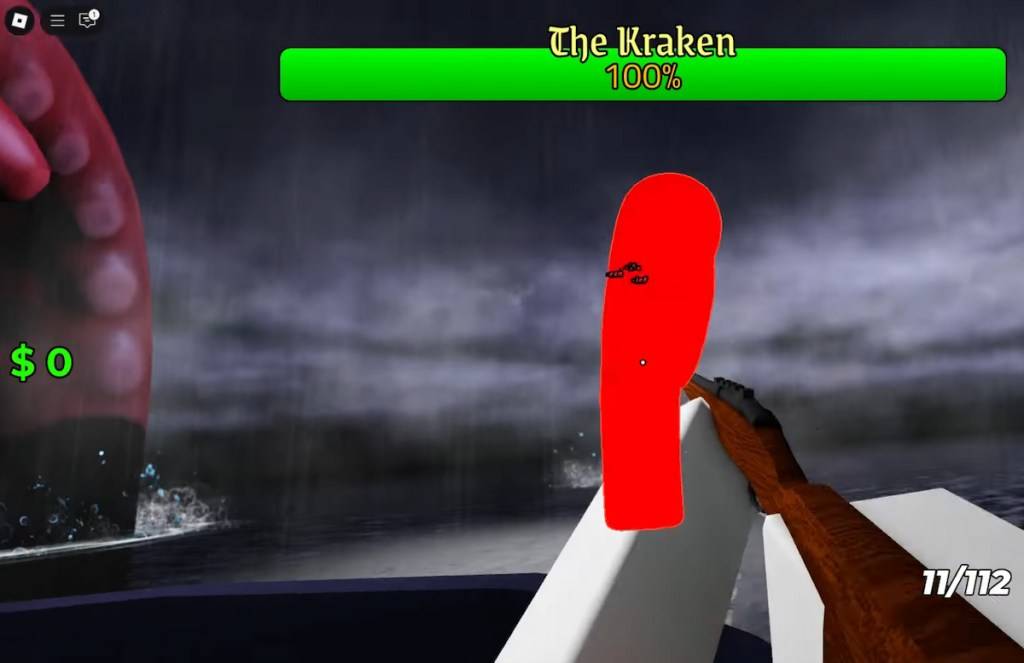
Be cautious of the water splash ability, which causes area-of-effect damage to multiple players. It's telegraphed by the Kraken pulling back and creating a water trail with its tentacle. Use medkits generously here, as some damage is unavoidable.
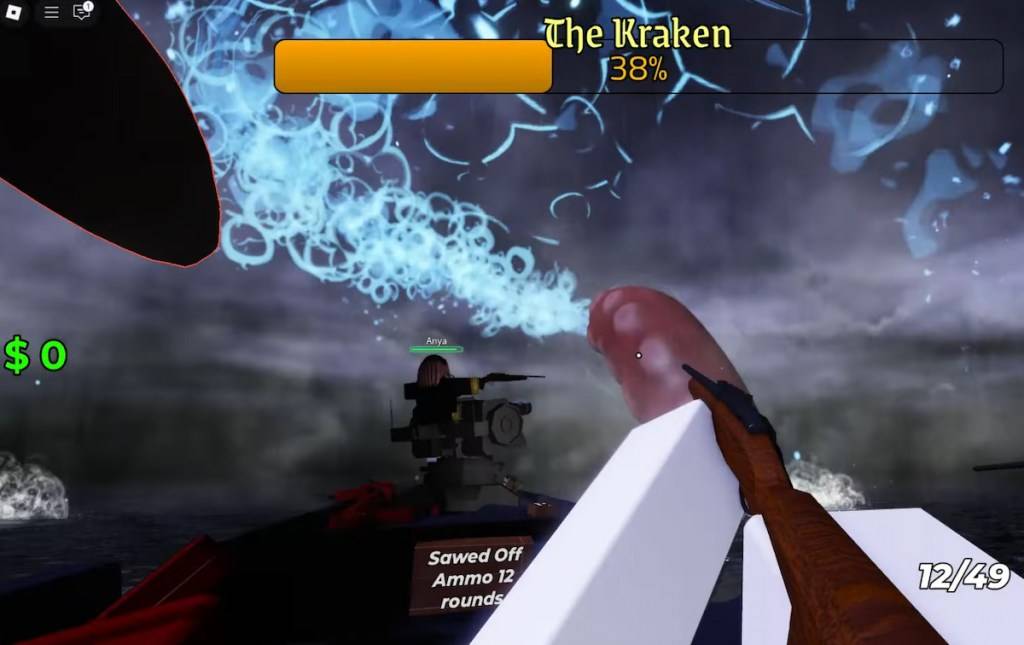
Finally, watch out for the Roar AoE, which deals minor unblockable damage and may slightly buff the boss. You'll recognize it by the white concentric circles emanating from the tentacle that used the ability.
As you can see, while it may seem daunting, the process is simpler than it appears. That concludes my Dead Sails Kraken Guide. To speed through the boss fight even faster, consider using one of our Dead Sails codes to see how far and how fast you can go. Good luck and smooth sailing!